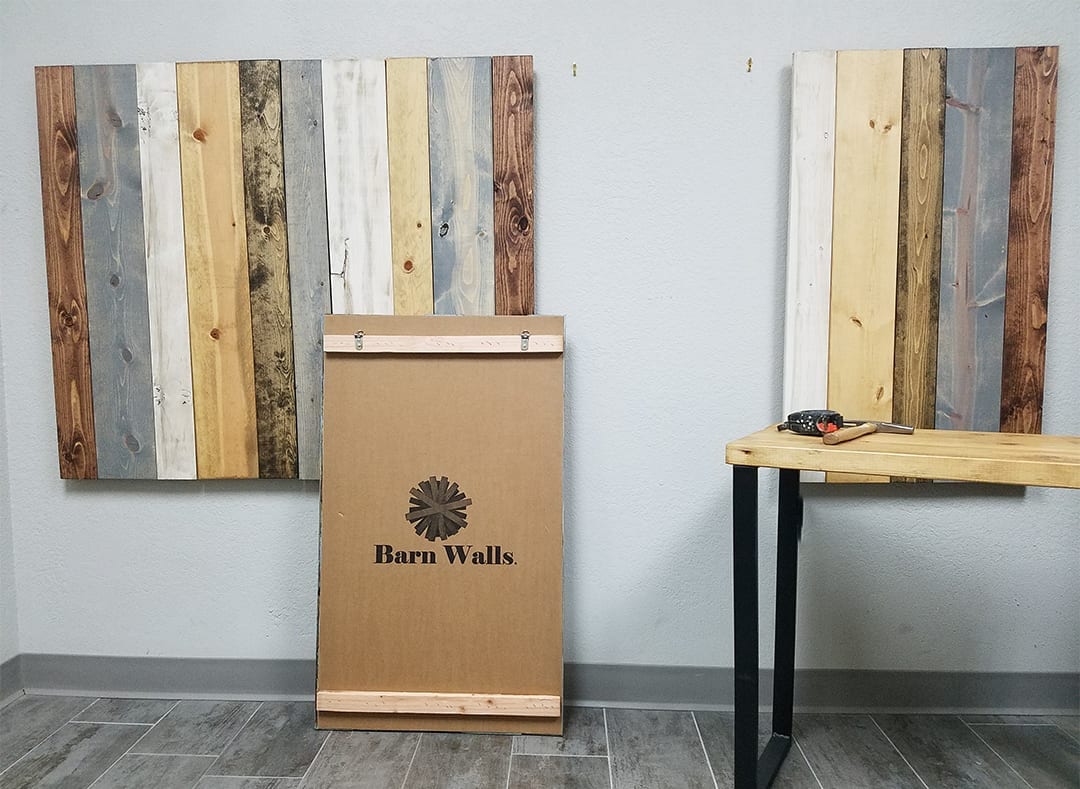
Thank you for choosing a Barn Walls Hanger (Floating) Headboard

Step 1
Lay your panels face-up on the floor to preview how your headboard will look when assembled and installed. You can rearrange them any way you like to get the look you like best. If you purchased a color mix and want it to look exactly like the website, skip to step 2.
Step 2

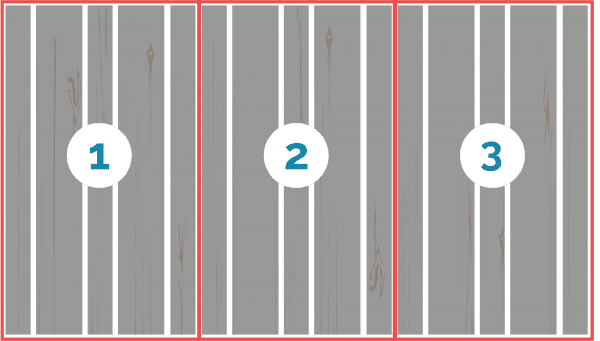
Color mix designs are marked with a number on the back. They are meant to be assembled from left to right to match the design on the website. (Panel 1 should be placed farthest to the left of the bed.)
Step 3
To make sure your headboard is properly centered behind your bed, we recommend hanging the middle panel(s) first.
Step 4
Set the center panel on top of your bed (in the center) and lean it against your wall. Look behind the panel and mark the top of each hook.
Step 5
Remove the panel and move your bed away from the wall so you have room to work. Measure to make sure your marks are the same distance from the floor. Then measure down 2 inches and mark an “X”. Nail 1 picture hanger hook into each X and hang the first panel.
Step 6
Position your second panel next to the first. Make sure the top and bottom corners are even. Then mark the top of the hooks, remove the panel, measure down 2 inches and mark an “X”. Nail 1 picture hanger hook into each X and hang the second panel.
Step 7
Repeat for all remaining panels.
Join our newsletter for updates, contests, and style tips!
By signing up for our newsletter you are agreeing to receive emails from Barn Walls.
