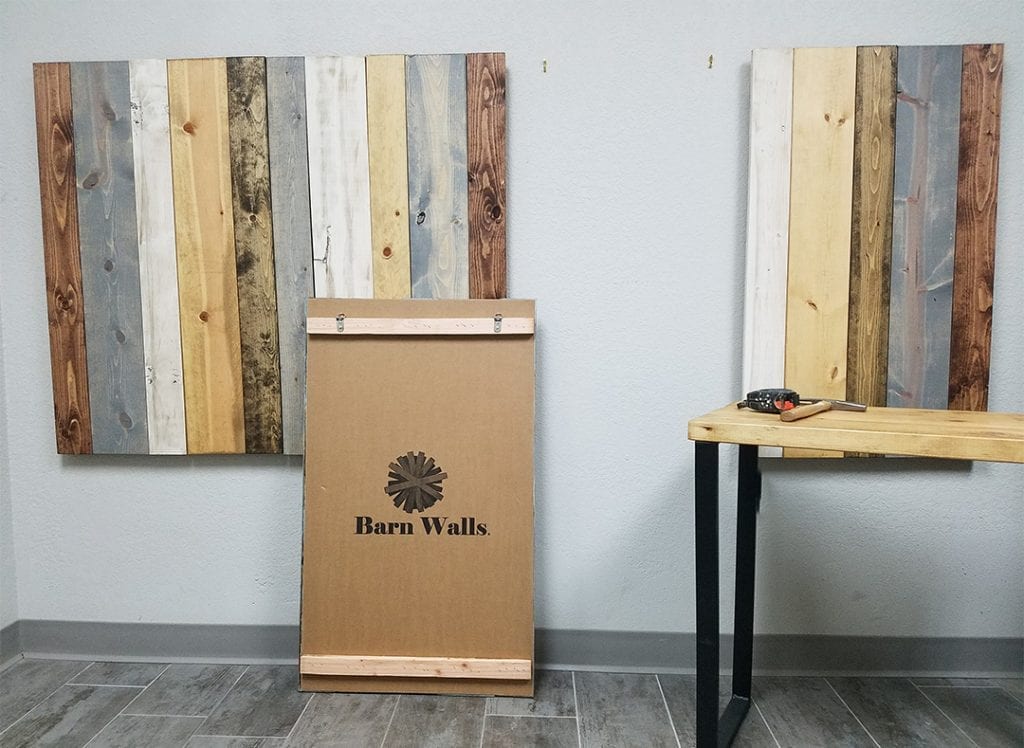
Thank you for choosing a Barn Walls Leaner Headboard

Step 1
Lay your panels face up on the floor to preview how your headboard will look when assembled and installed. You can rearrange them any way you like to get the look you like best.
If you purchased a color mix and want it to look exactly like the website, skip to step 2.
Step 2
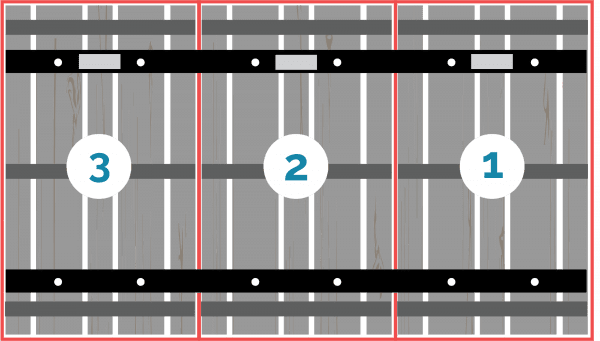
Color mix designs are marked with a number on the back. They are meant to be assembled from left to right to match the design on the website. (Panel 1 should be placed farthest to the left of the bed.)
Step 3
Once you have your panels arranged, carefully turn them over. Lay them face down on the floor or a smooth surface, carpet, sheets or towels, to avoid accidental scratches. DO NOT STEP ON THE PANELS.
Step 4

Place the brace boards as shown. Make sure the top of your panels is level. Screw brace boards into your headboard panels using the marks on the brace boards to position them.
Step 5
Peel one side of the Velcro strips and place them on the top of the brace board.
Step 6
If not already attached, place the other side of each Velcro strip to the strips already on the headboard. Peel the backs off so the adhesive faces out.
Step 7
Position the headboard in the desired location, firmly press it against the wall to stick the Velcro to your wall.
Step 8
Push your bed back in place and enjoy your beautiful, new wood plank headboard! We’d love to see how it looks. Share your headboard with us on Instagram or Facebook. Snap a pic, post to our page, or tag us, @barnwalls.
Cleaning your headboard is as easy as installing it! To prevent it from becoming faded or discolored, use only wood oil polish – not chemical cleaners like Lysol or Windex.
Join our newsletter for updates, contests, and style tips!
By signing up for our newsletter you are agreeing to receive emails from Barn Walls.
